The good news is that you’ll unlock this Dungeon as part of the Main Story. The bad news is that the Minion isn’t guaranteed to drop, and can’t be sold on the Marketboard. This means you’ll need to utilize the Trust system or have a Light Party to grind Ktisis Hyperboreia. Trusts are always preferable because NPCs can’t roll on Loot. So in the case your Caduceus Minion drops, you’ll win it by default. After the revelations regarding Meteion, Hermes takes refuge in the Ktisis Hyperboreia observational facility. You’re tasked with pursuing them in order to put a halt to his nefarious pursuit of the meaning of life. Gather up your Party, and venture forth to hopefully save Meteion and prevent the Song of Oblivion. And get that sweet Caduceus Minion.
The Many Seasons of Ktisis Hyperboreia
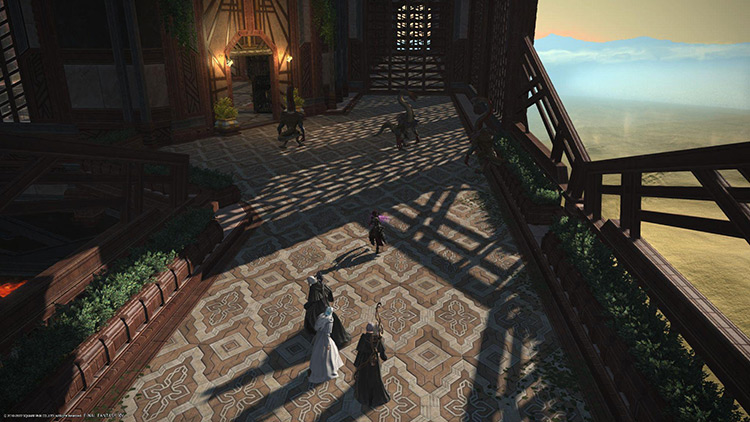
First encountered at Level 87, you can traverse Ktisis Hyperboreia with Venat, Hythlodaeus and Emet-Selch. Which is well worth it just for the lore experience. Also littered about the Facility are little booklets you can interact with for insight on its function. So it’s certainly worth traversing at least once with Trusts just to take your time. After that initial clear, however, you may find it a bit quicker to just grab a couple friends and grind it out. And impress them with your uncanny knowledge of Boss mechanics. That being said, here’s a few brief guides on the Observational Facility’s foes:
Lyssa
Skull Dasher – Tankbuster. Mitigate and heal as necessary. Frigid Stomp – Unavoidable room-wide AOE. Mitigate and heal as necessary. Frostbite and Seek – Lyssa returns to the center of the arena, covers it in mist, and becomes unforgettable. Several sets of footprints appear leading to one of six craters in the arena. Follow them to which crater they end at and get behind it to avoid damage. Icicall – Three icicles drop into the arena and after a short while fire a line AOE. This has two patterns, either across the edges of the arena or through the center. Heavy Smash – One of you will get a stack marker, requiring everyone to get together to share damage. This usually occurs along with Icicall, but resolves after the line AOEs. Avoid those then stack together.
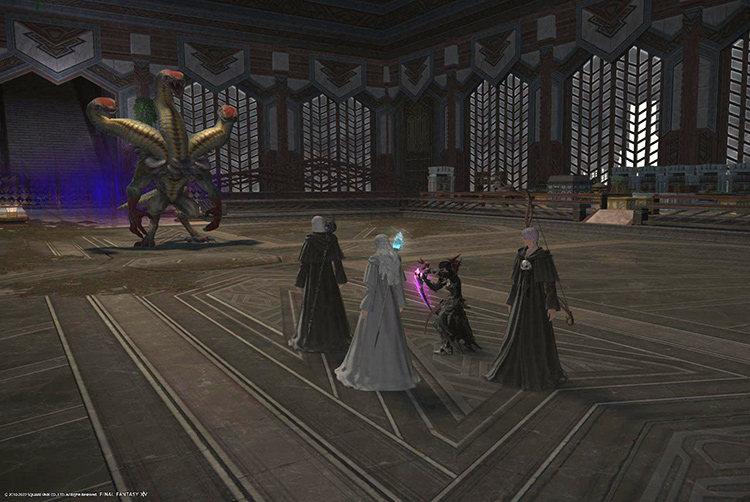
Ladon Lord
Scratch – Tankbuster. Mitigate and heal as necessary. Intimidation – Unavoidable room-wide AOE. Mitigate and heal as necessary. Pyric Blast – A Party stack AOE, get together to share damage. Inhale – Ladon Lord will inhale Aether, causing one or two heads to inflate. This is a visual cue for the next attack, indicating the safe spot. Pyric Breath – The Boss returns center and will face a random direction. The inflated heads will fire a cleaving AOE. The safe spot is the normal-sized head. Pyric Spheres – Calls four Pyric Spheres in random areas around the arena. These will fire a cross-shaped AOE after a brief duration. Stand between them to avoid damage. This attack will be used along with both Pyric Blast and Pyric Breath as the fight goes on, so position accordingly.
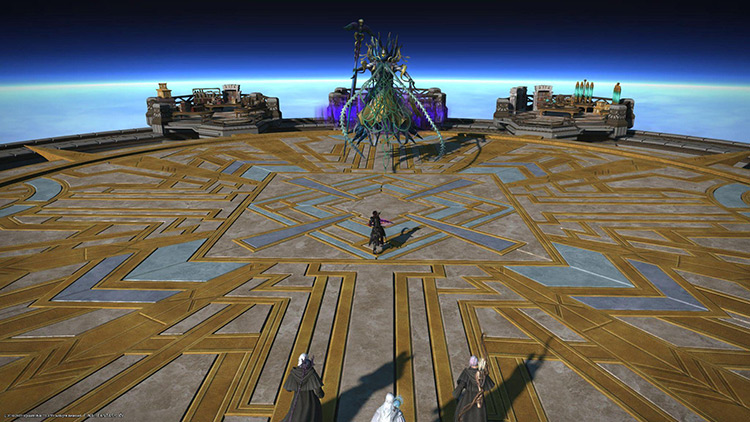
Winged Defiance: Hermes
Trismegistos – Unavoidable room-wide AOE. Mitigate and heal as necessary. Double – Augments Hermes’s next spell. Causes it to have a secondary effect, such as leaving behind an AOE or casting it twice in succession. Quadruple – Augments Hermes’s next two spells. True Tornado – Tankbuster. Mitigate and heal as necessary. If cast while under the effect of Double, a small AOE will occur after the initial hit. Move out of it to avoid damage and Vulnerability Up. True Bravery – Grants Hermes a Damage Up Buff for 20s. This attack can be stopped by using Interrupt. And you should definitely do that. True Aero – All Players will be targeted with a tracking line AOE. Spread out to avoid overlapping damage. If cast while under the effect of Double, a second line AOE will occur after the initial hit. Move out to avoid damage. True Aero II – All Players will be marked with point-blank AOEs. Spread out to avoid overlapping damage. If cast while under the effect of Quadruple, two sets of AOEs will occur after the initial hit. They follow the Player so try to bait them away from each other. Meteor – Four proximity AOEs will occur around the arena. Stand mid to avoid heavy damage. These will be used to avoid the next mechanic. Hermetica – Summons large green panels along the edges of the arena in sets of two. These will face a cardinal direction and then fire a line AOE. This causes knockback, and will shoot you into the arena wall and likely kill you. There are four patterns. The first set will be two sets of two panels. You can safely stay in the middle of the arena to avoid damage. The second set are two sets of two panels which will fire directly through the center of the arena. Get to the sides to avoid damage. The third set occurs while under the effect of Double. Two sets of four panels will be summoned in sequence. Stand behind the Meteor without yellow cracks, breaking line of sight with the first set of panels. Move behind the other side of the Meteor to avoid the second line AOE. The fourth set occurs while under the effect of Quadruple. Four sets of two panels will be summoned in sequence along the edge of the arena. You’ll need to dodge into the opening next to each set of panels after the AOEs resolve in order to avoid damage.
Those mechanics will repeat until you’ve bested Hermes. Unfortunately Meteion shows up and ends up being a real bummer. Hopefully that sadness is taken away when you open the Coffer and it contains your Caduceus Minion. Hopefully. Best of luck with your snake hunt!